Your first week in Deskly
Setting up an office takes about twenty minutes. Getting a team to actually live in it takes a week. This is the order that works.
6 min read
Day one - put the floor up
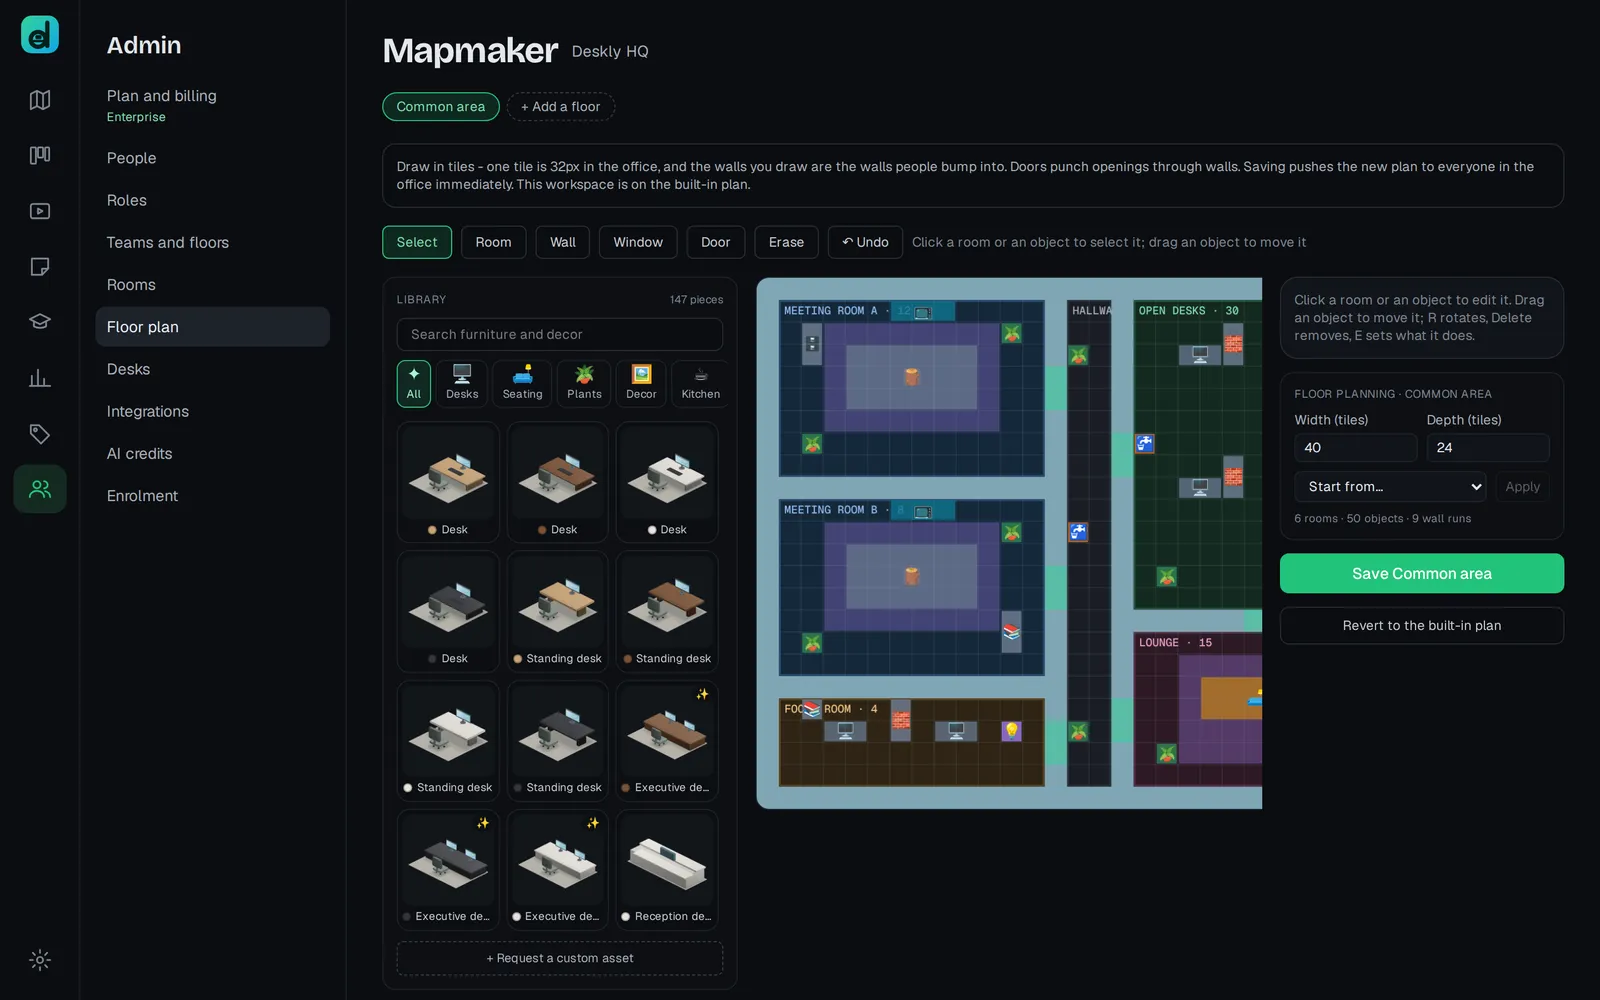
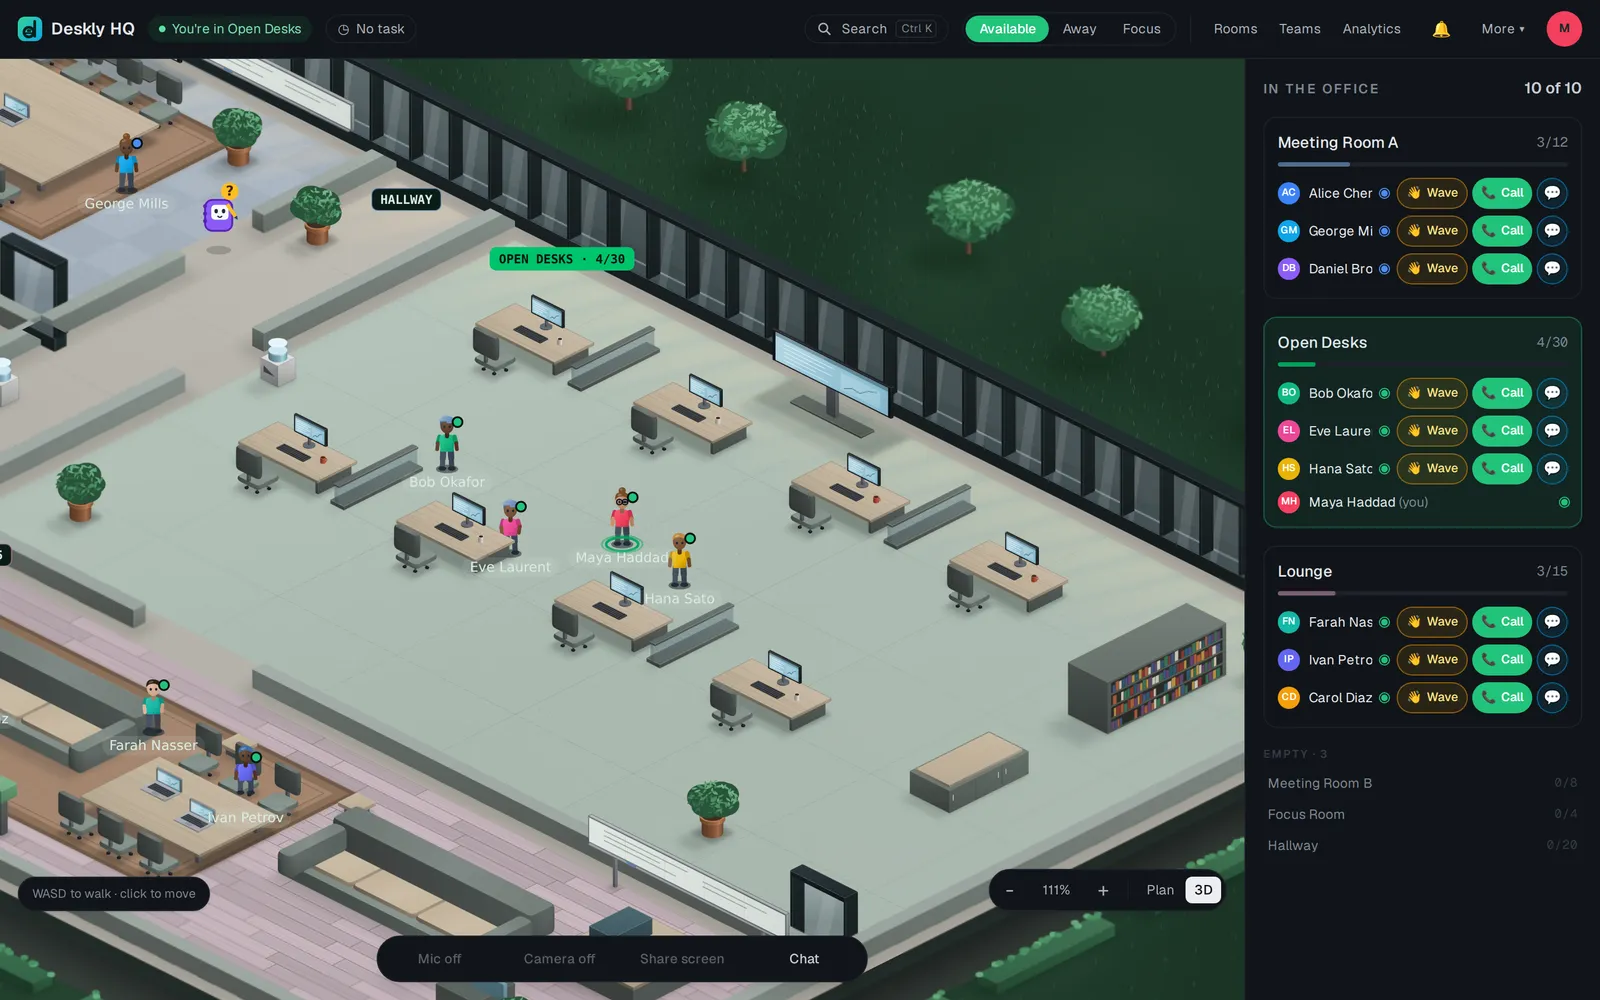
Create your office and a short setup asks three things: its Name, a look under Theme, and the Office size. The size lays out your first floors and rooms, and every choice can be changed later in Office settings. Choose Skip - use the defaults and you land on the common floor with six rooms already drawn: open desks, two meeting rooms, a focus room, a lounge and a hallway. You do not have to design anything to start.
- Walk around with the arrow keys or WASD, or click where you want to stand.
- Step into a meeting room. That is the call - there is nothing to start.
- Open the room's Board and leave a note on it with Add note.
- Rename the rooms to match how your team actually talks about them, in Rooms. To move walls or furniture, open Floor plan.
The open floor carries no audio at all. That is deliberate: a busy office should not be a wall of noise. Audio belongs to rooms.
Day two - bring people in
Nobody walks into your office uninvited. People exist because an admin added them, which is why there is no public join link into an existing office.
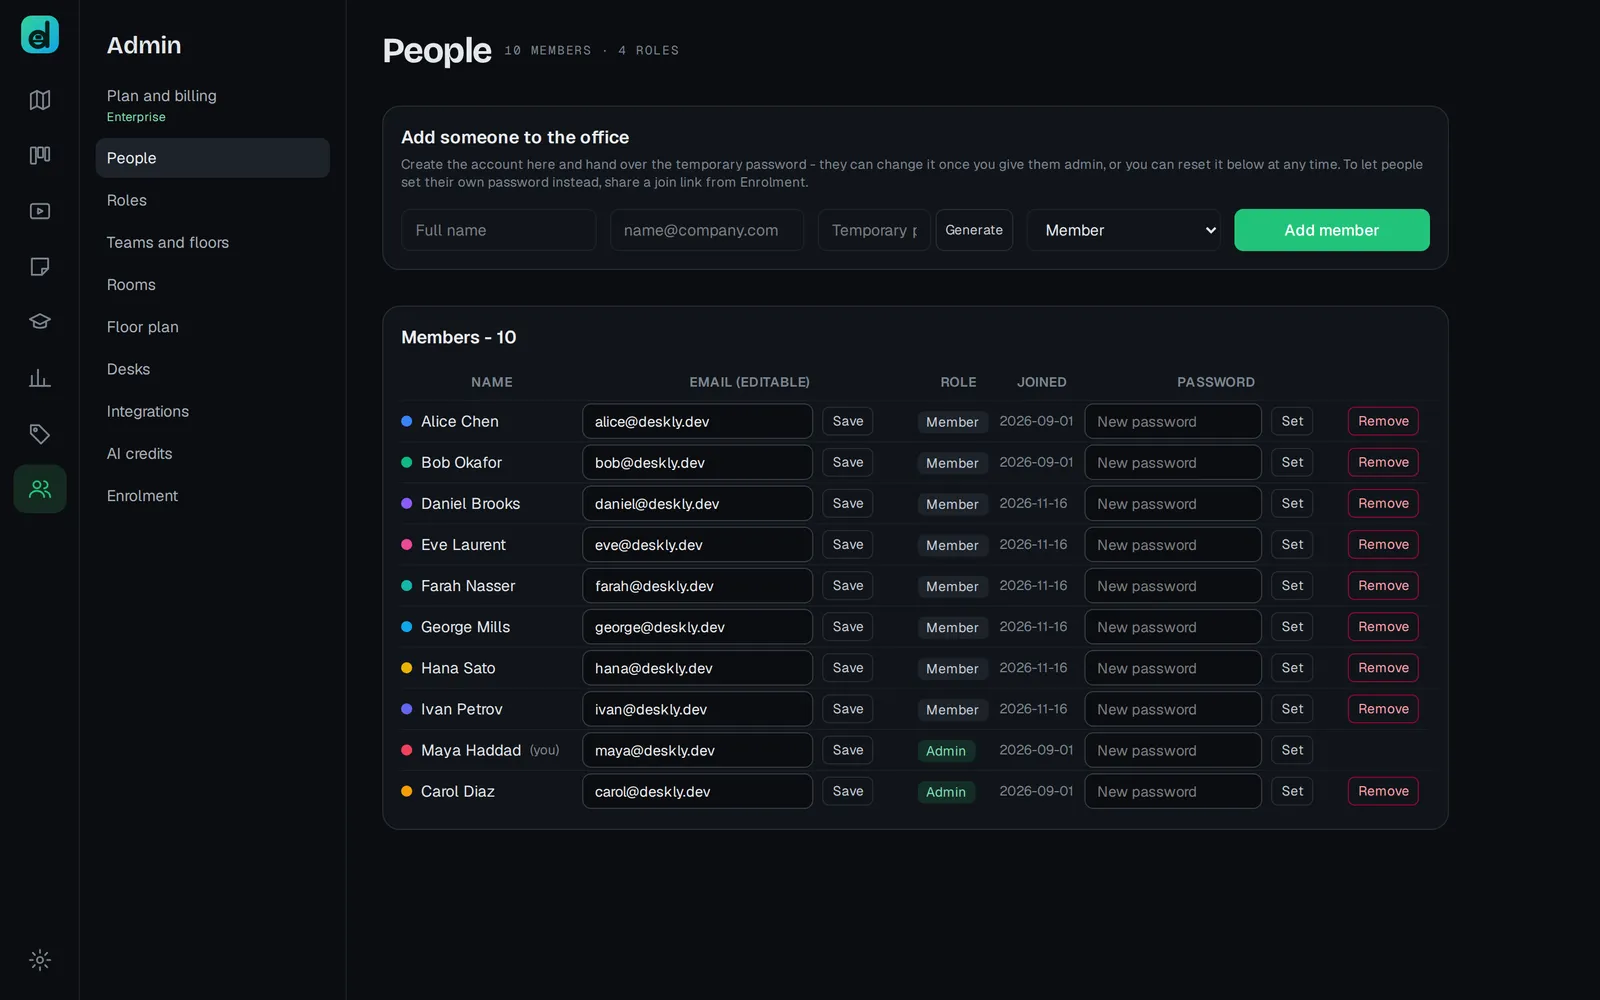
- In People, use Add someone to the office: a full name, an email and a Temporary password (press Generate for one that is safe to read out), then Add member.
- Hand the password over yourself. Adding someone does not email them, so keep passwords out of a public channel.
- Ask everyone to change the temporary password in Settings, under Password, when they first sign in.
- To let people choose their own password instead, open Enrolment and press Create join link. Whoever uses it creates their own account and lands on that floor.
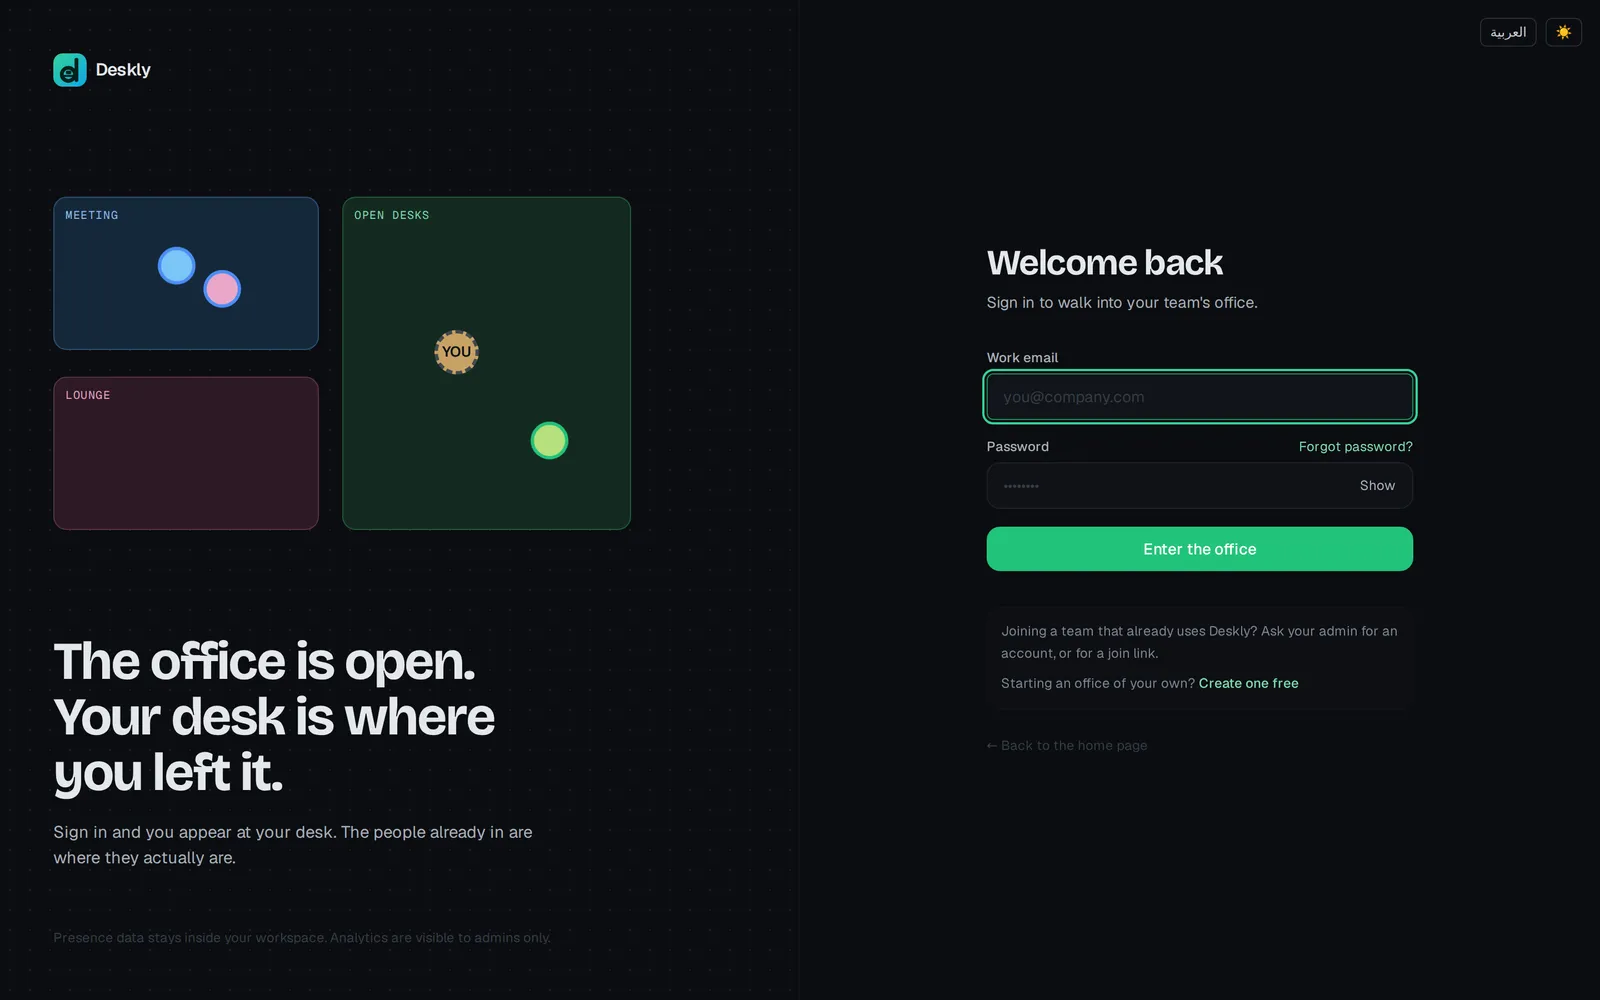
If someone forgets their password later, they choose Forgot password? on the sign-in page and get a code by email. An admin can also set a new one in People.
Day three - agree what presence means
The one habit that makes or breaks a virtual office is that presence is honest. Deskly does most of it for you: Away comes from screen lock and real idle, decided by the server rather than by a browser that kept saying you were there.
- Ask everyone on Chrome or Edge to allow away detection when the browser asks. Without it, working in another app can look like being idle.
- Set your status to Focus when you do not want to be walked in on. Calls to you are held off and waves wait quietly.
- Agree as a team that being on the floor means available, and a focus room means not.
- Let the hallway do its job - bumping into somebody is the point.
Day four - connect the work
If your team runs on Jira or Azure DevOps, and you are on an Office plan or the trial, connect it in Integrations. Credentials are encrypted before they are stored, and nobody edits a file on a server.
- Enter your site or organisation URL and a token, then press Choose projects and tick the projects to track.
- Match each person to their tracker account under Who is who. Match by email does most of it; Deskly never guesses the rest.
- On Azure DevOps, point each floor at the project its work belongs to, in Teams and floors under Board notes file into, so the marketing board stops filing into engineering's backlog. Filing board notes works with Azure DevOps only.
- Open Task boards to see everyone's work in To do, In progress and Done, drawn from the tracker rather than from a copy.
Day five - let the hours add up
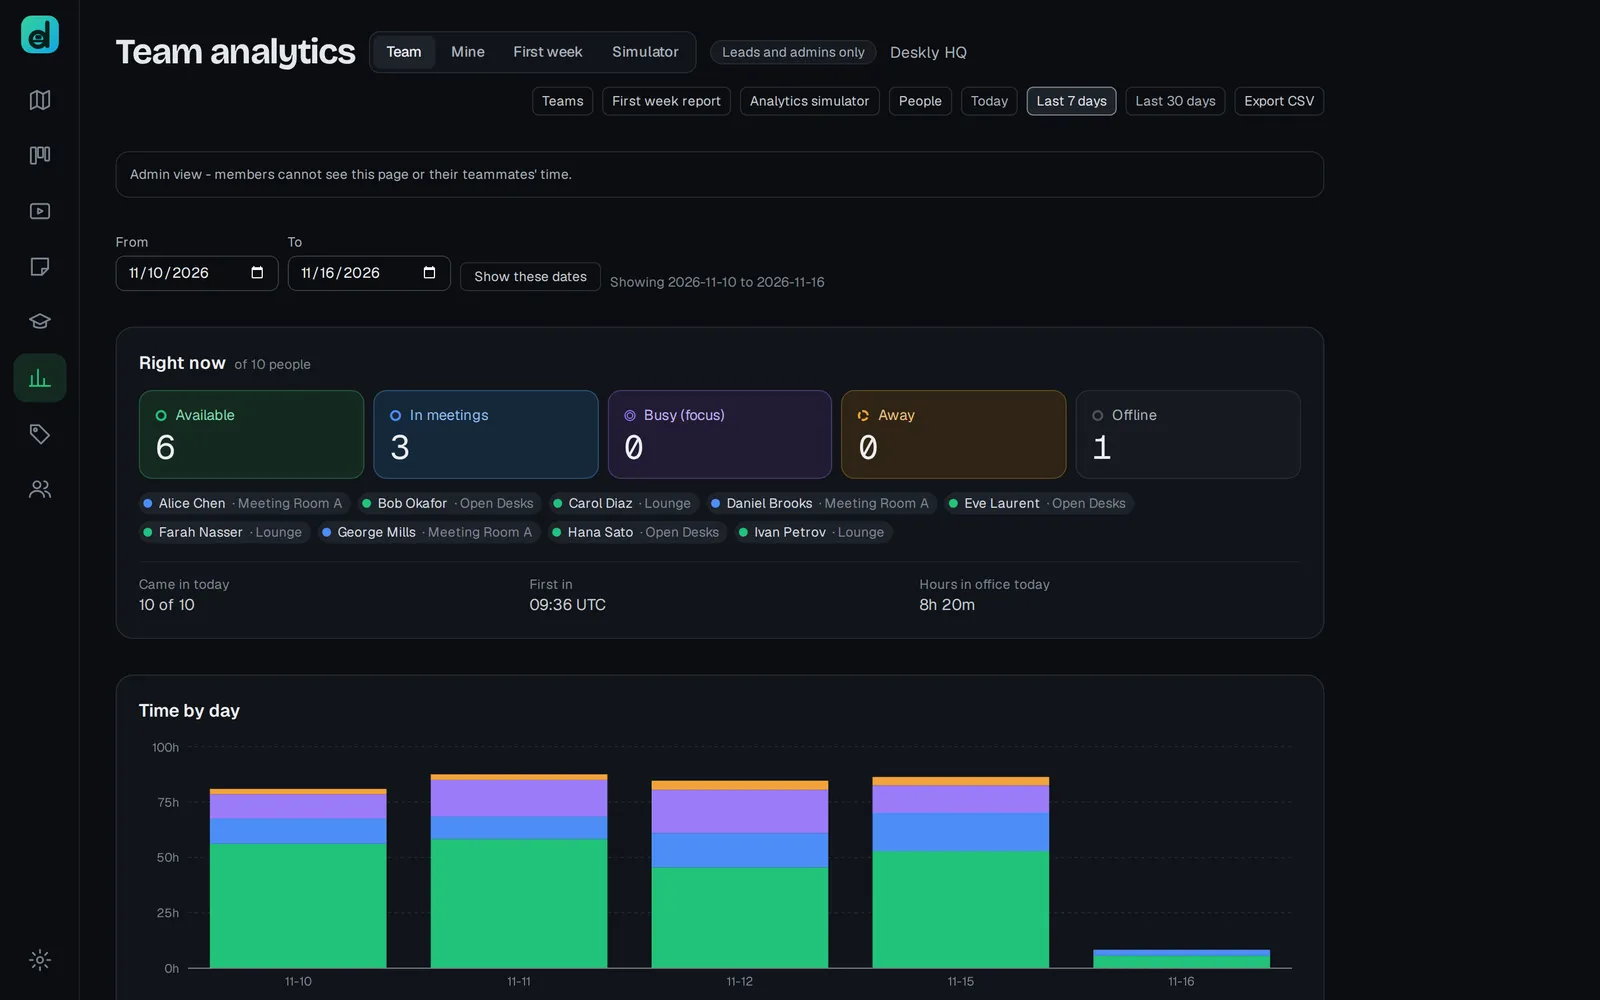
Say what you are working on with one tap: the task button at the top of the office reads No task until you pick one. The hours are the overlap between that and the time the presence ledger says you were actually active, so they can never exceed the time you were here.
- Open Time on tasks at the end of the week and read it together.
- The Not attributed row is the honest gap - hours somebody was here for and never put against anything.
- On Jira, the same page shows what the tracker was told beside what the office saw, with a button to close the difference.
Nothing is ever written to your tracker without somebody pressing a button. That is a rule, not a setting.
The second week
Once the habit is there, the rest is configuration you can do as you need it.
- Split into floors when one floor gets crowded - each team gets its own rooms, chat, boards and presence. Add them in Teams and floors with New team. Free holds one floor; Office sizes hold more.
- Give roles your own names in Roles, and let leads administer their own floor.
- On an Office plan, record the meetings that need a record, and share guest passes with clients from Rooms with Create guest link.
- Run classes and courses if you teach, and issue certificates with a public verification page. These are on the Office plans too.
- Install the desktop app on Windows or Linux, so closing the window does not take you out of the office.