Room whiteboards and sticky notes
How to open a room's whiteboard, add and arrange sticky notes, share the board, and send a note to Azure DevOps as a work item.
4 min read
Where the boards are
A whiteboard belongs to a room, not to a meeting. Whatever is written on it is still there next week.
Every meeting room, focus room, lounge and classroom has one on its wall. The open desks and the hall do not.
There are two ways to open a board:
- In the office, stand in the room and choose Board in the room controls, or click the board drawn on the wall.
- From anywhere, open Boards in the side bar and pick the room. You can read and add to a board this way without walking into the office.
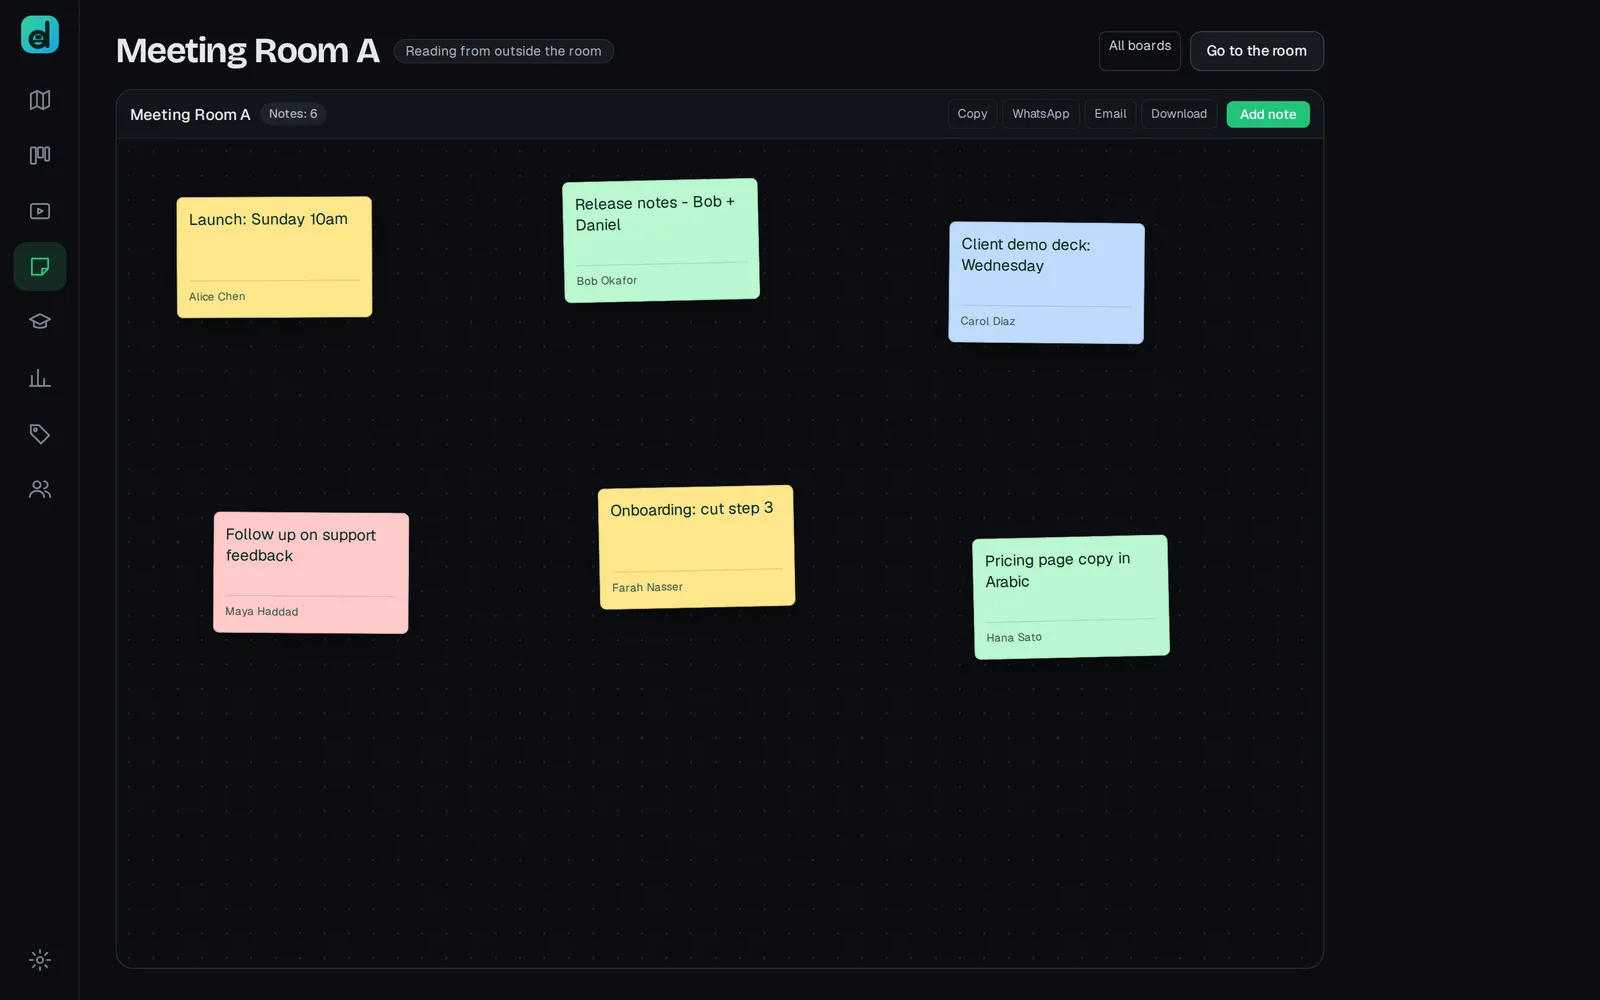
Adding and arranging notes
- Choose Add note. A new note appears near the middle of the board.
- Double-click it to write. Click outside the note, or press Ctrl Enter (⌘ Enter on a Mac), to finish. Esc cancels the edit.
- Pick a Note colour - yellow, green, blue, pink, purple or orange.
- Drag a note to move it. With a note selected, the arrow keys nudge it, and Shift with an arrow moves it further.
Anyone in the room can move any note - tidying a board is not editing it. Only the person who wrote a note can rewrite it, change its colour or delete it. Admins can edit anybody's notes.
A note keeps its place as a share of the board, so it sits in the same spot on a laptop and on a phone.
Sharing a board
Choose Share on the board to send its notes somewhere else as plain text, in the order they were written. You can Copy them, send them by Email or WhatsApp, or Download them. The text includes a link to the live board for anyone with an account.
After a recorded meeting, whoever recorded it is asked whether to add the summary to the room's whiteboard. The summary stays in the recording whatever they answer.
Sending a note to Azure DevOps
A note can become a work item in Azure DevOps. This needs:
- the Office or Enterprise plan,
- Azure DevOps connected by an admin in Integrations,
- a project named for the floor or the workspace.
To send one of your notes:
- Select the note.
- Choose the Project and what to File as, or leave Project default.
- Choose Send to Azure DevOps.
Once it is filed, the note links to the work item. You can only send your own notes.
Common problems
The Board button is missing. You are on the open desks or in the hall. Walk into a room that has a board.
I cannot change someone's note. Only its author or an admin can rewrite it. You can still move it.
Sending a note failed. The message says why: Azure DevOps is not connected, no project is named, the token can only read, the note is empty, it is someone else's, it is already a work item, or Azure DevOps refused it. The words stay on the board either way - you never lose the note.
"Filing tasks is not on your plan". Sending notes to a tracker needs the Office or Enterprise plan.